


Minolta MC Rokkor-PF 58mm 1:1.4This lens was bought from E-bay (one of many unsuccessful purchases on E-Bay). I found the following problems with the lens:
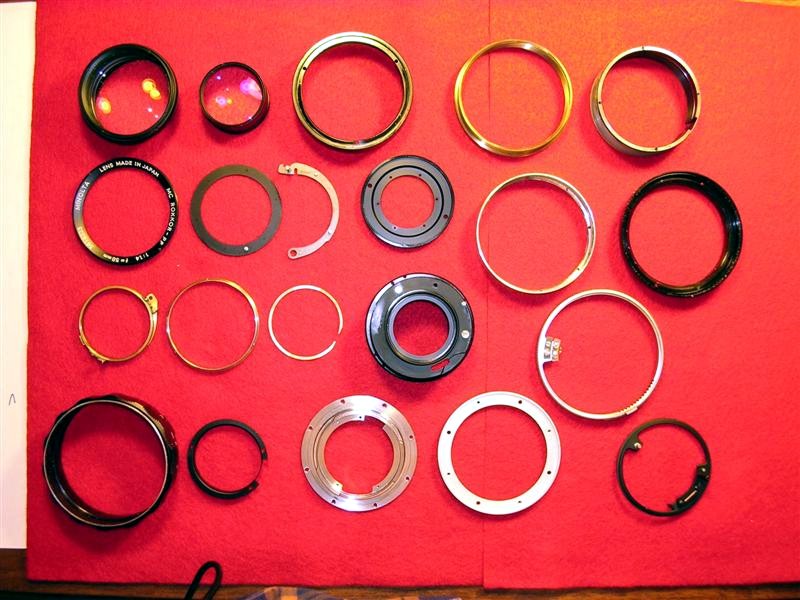
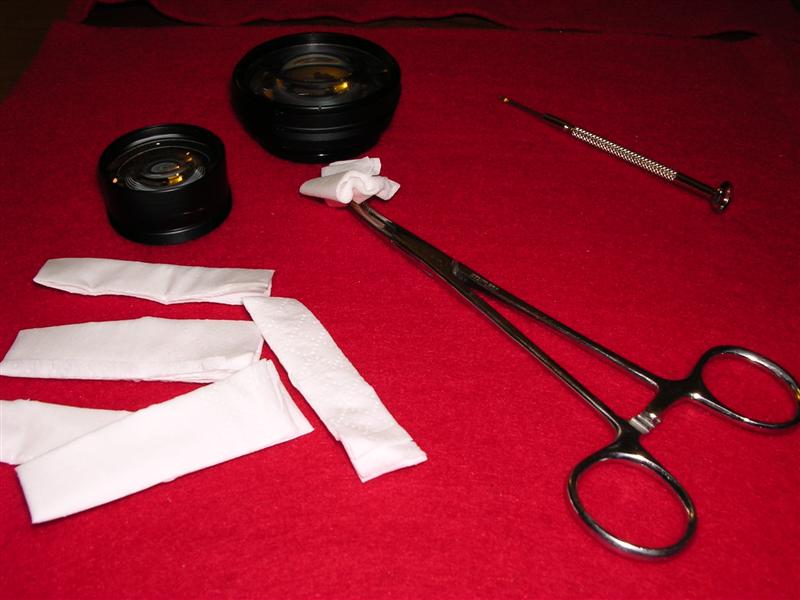
Here are some pictures and notes of the CLA performed to the lens. For disassembly and assembly, I used the Factory Service Manual for the Minolta SRT-101. This can be found here <Minolta SRT-101 Factory Service Manual>. I also used Thomas Tomosy's book on Camera Repair and Maintenance for tips on cleaning, adjusting and repair. Here are the results (click on the pictures to enlarge):
|
|
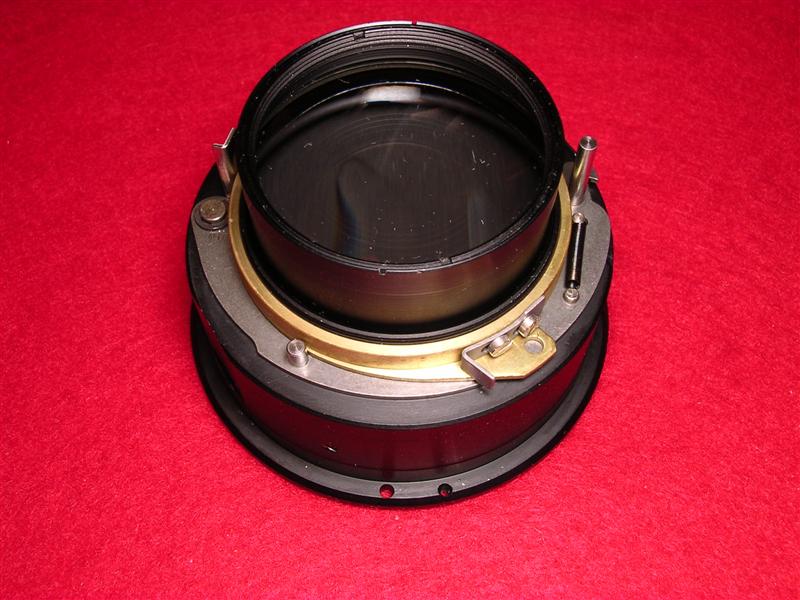
1) Oil in blades. Make marks on the aperture block and the inner barrel before disassembly to avoid future calibration. | |
2) Oil was spreaded everywhere. This lens required a total disassembly. |
|
3) Disassembling the lens. Keep your workspace clean and ordered. There are many small parts. | |
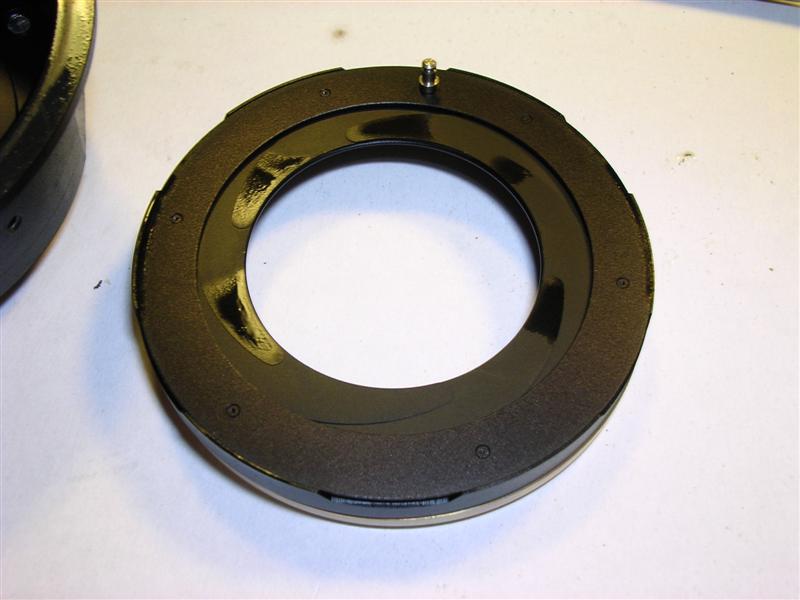
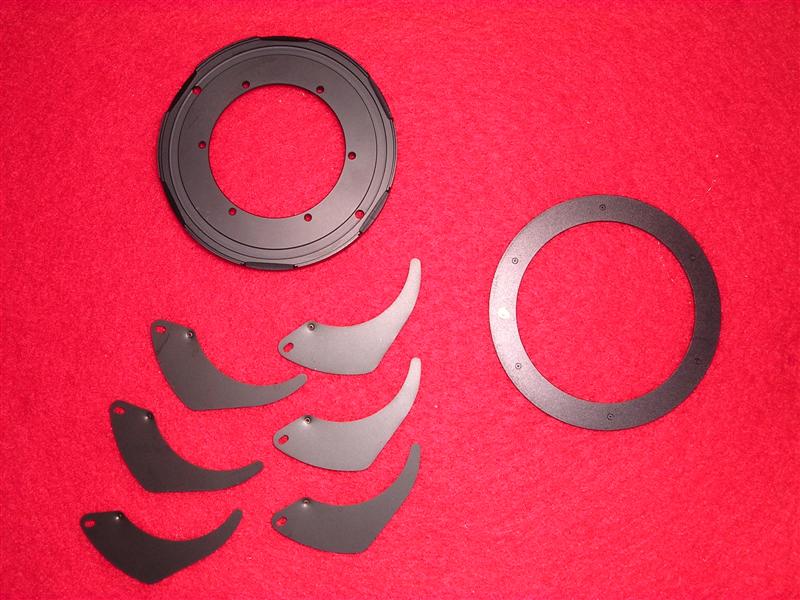
4) Disassembly of the aperture block. Be careful with the blades, they are very thin !! |
|
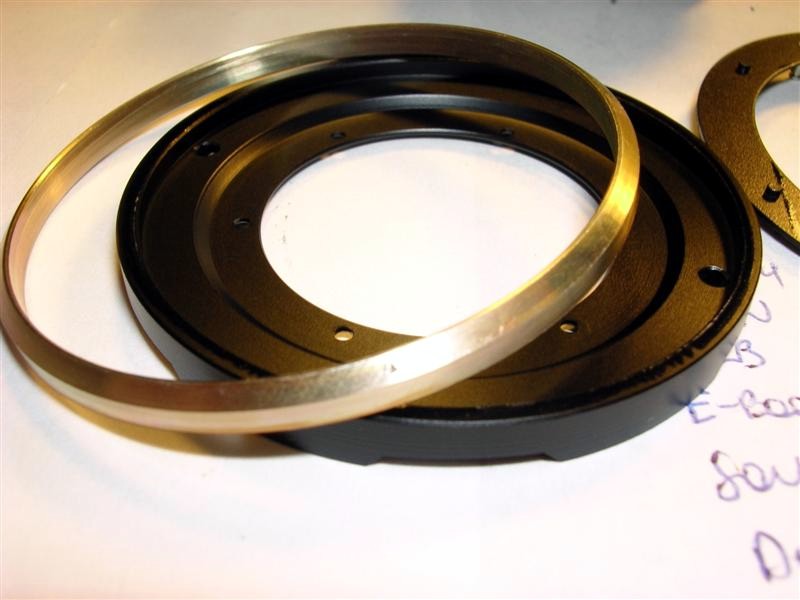
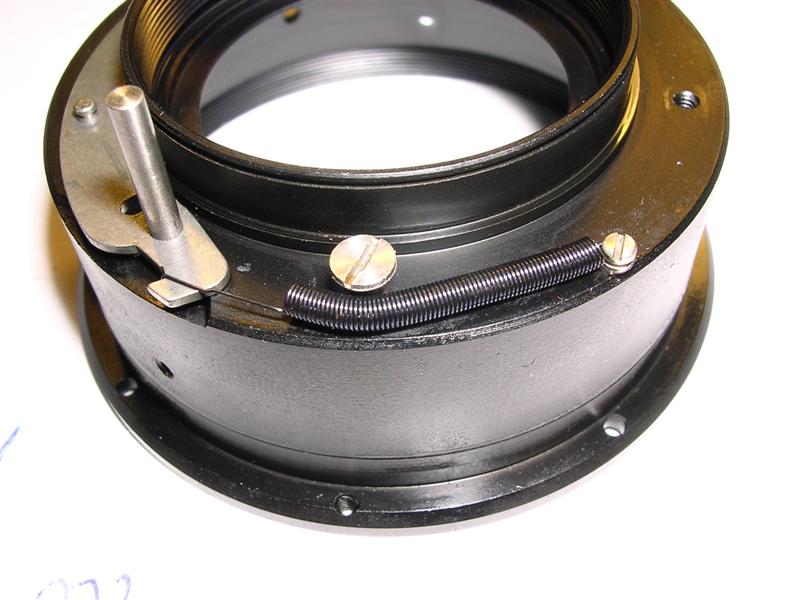
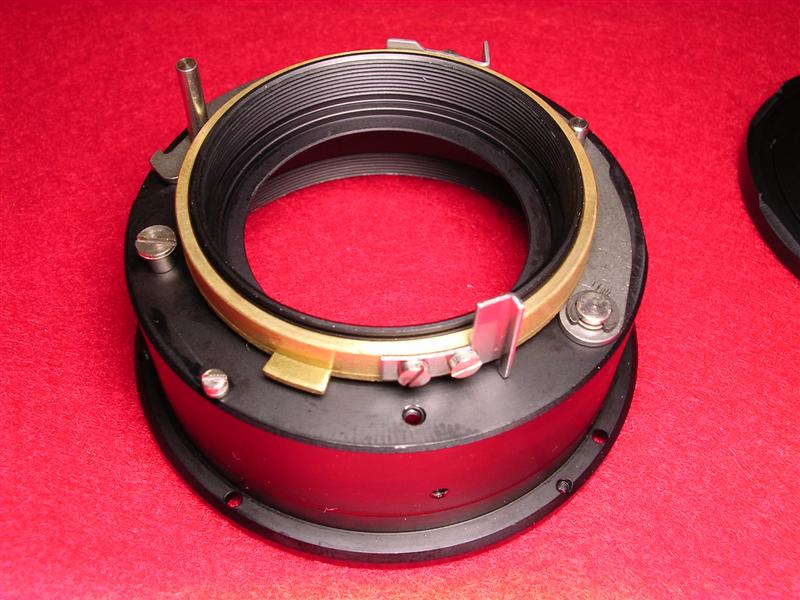
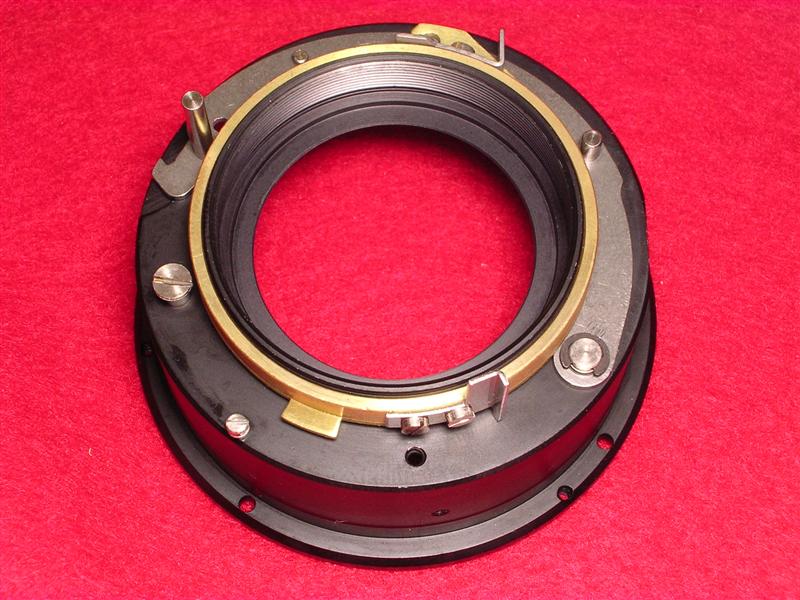
5) Take note of the order of rings. This ring holds the aperture block in its place. It will be needed for calibration. | |
6) There are a few springs, difficult to take apart and to assemble. |
|
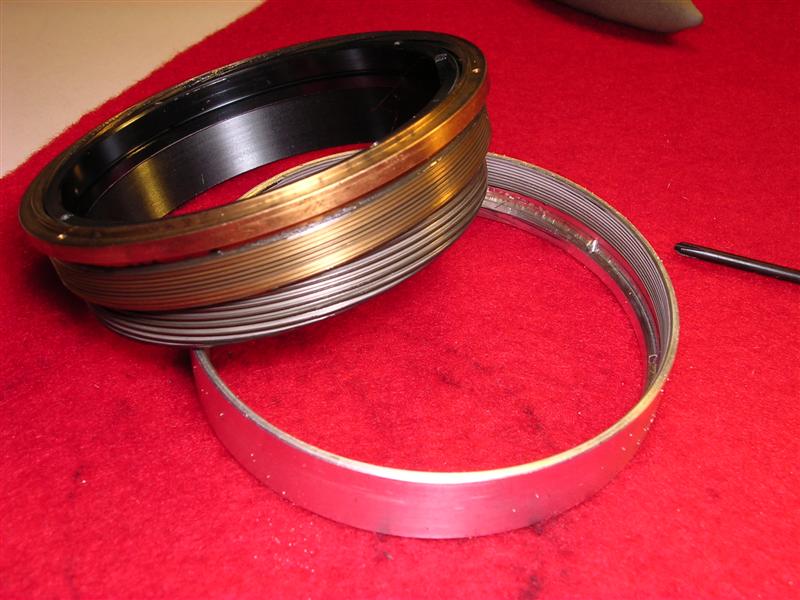
6) Make marks on the barrels if you are dismounting them. | |
7) Make a mark in the helicoid, the outer barrel, inner barrel and focus barrel for future assembly. |
|
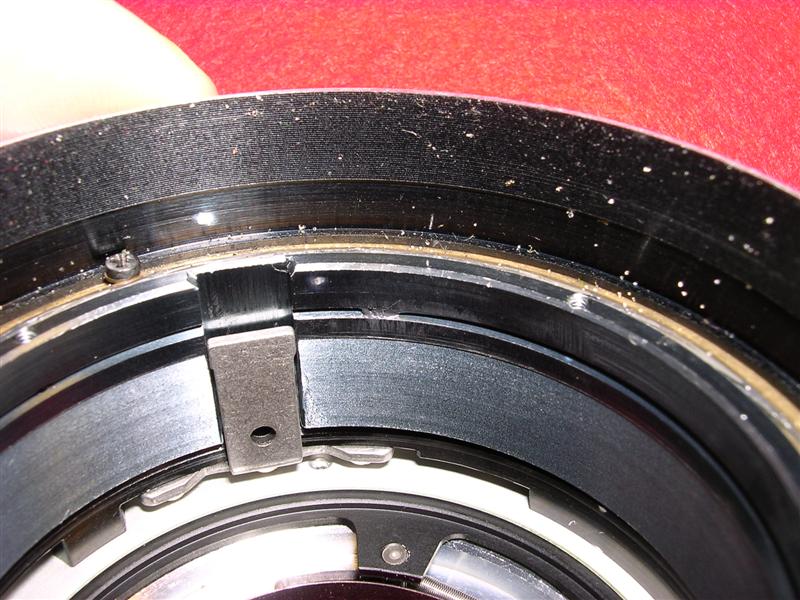
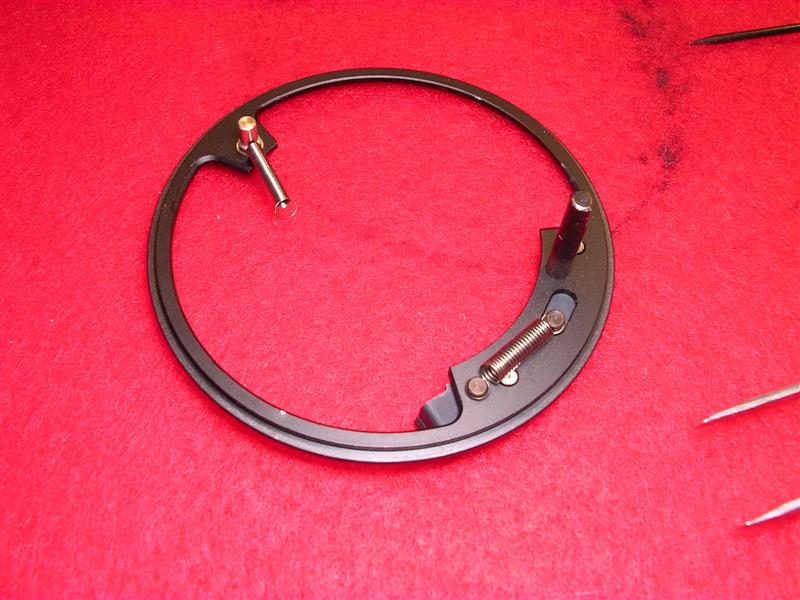
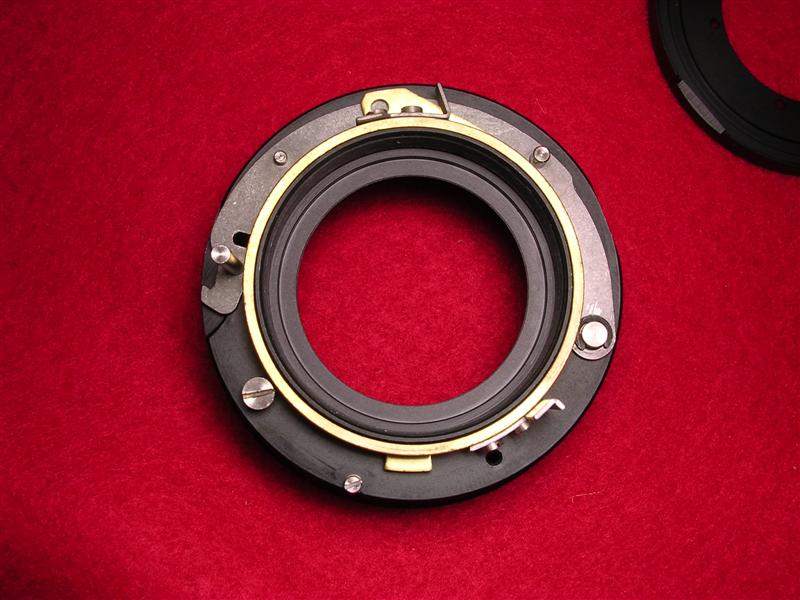
8) Take pictures and notes of springs and mechanism. | |
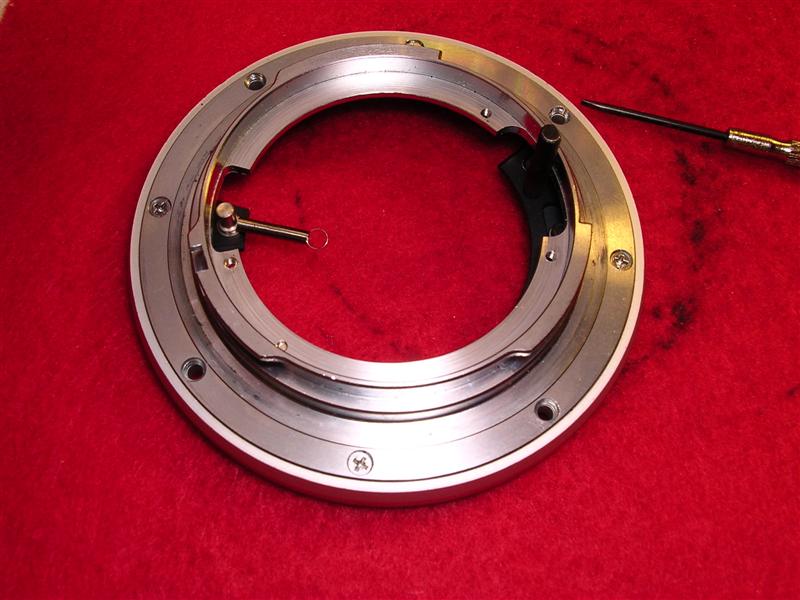
9) Bayonet ring. |
|
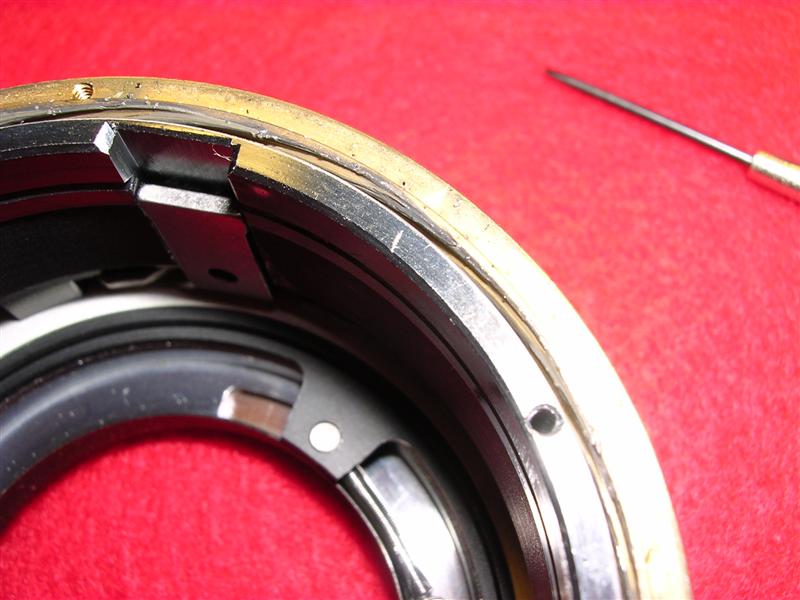
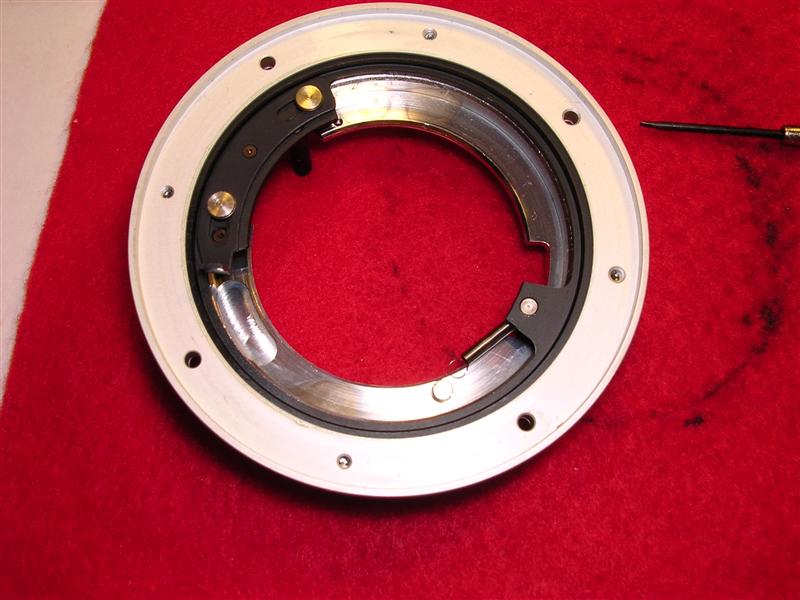
10) Aperture ring. Take note of springs. Do not disassemble the calibration levers. Make marks on barrels for future assembly. | |
11) Be careful with those small bearing balls! |
|
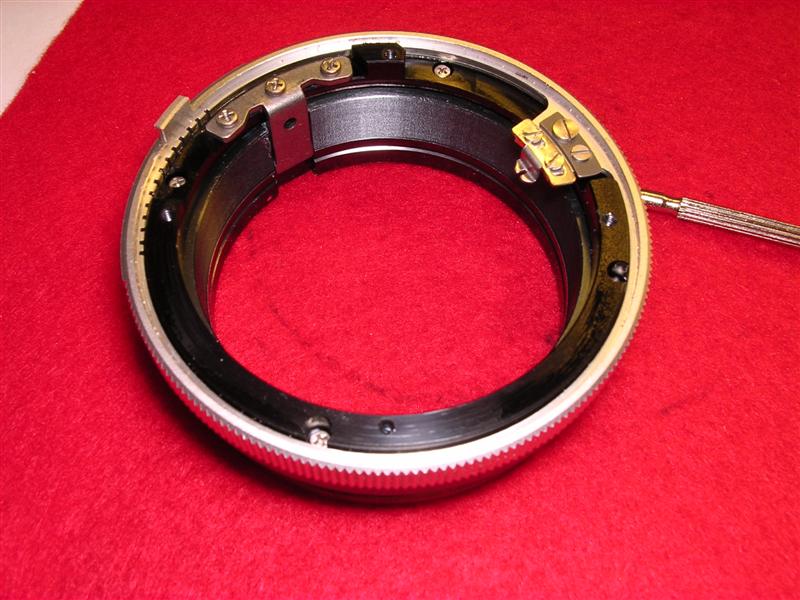
12) Take notes of springs and mechanism. | |
13) Focus mechanism. It should be cleaned thoroughly with lighter fluid or camp fuel. Then oiled with heavy bearing grease. |
|
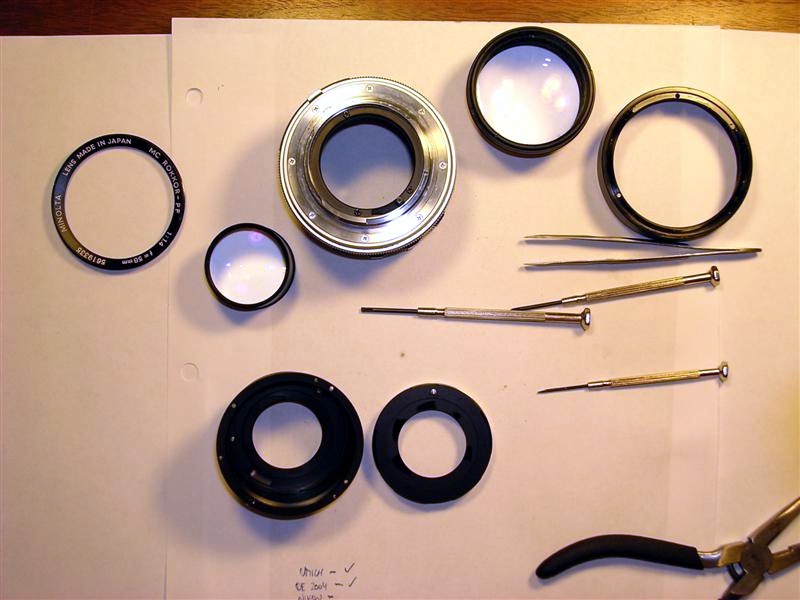
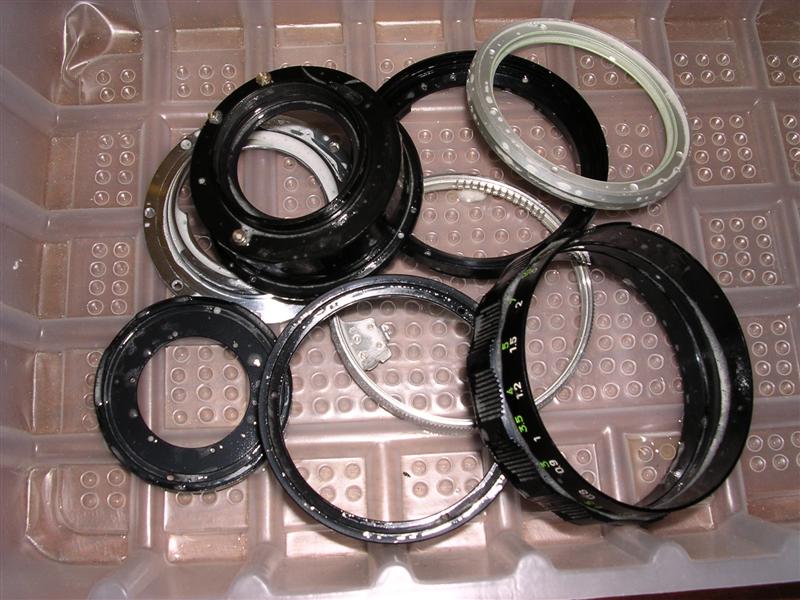
14) All elements disassembled. Keep them ordered and safe. | |
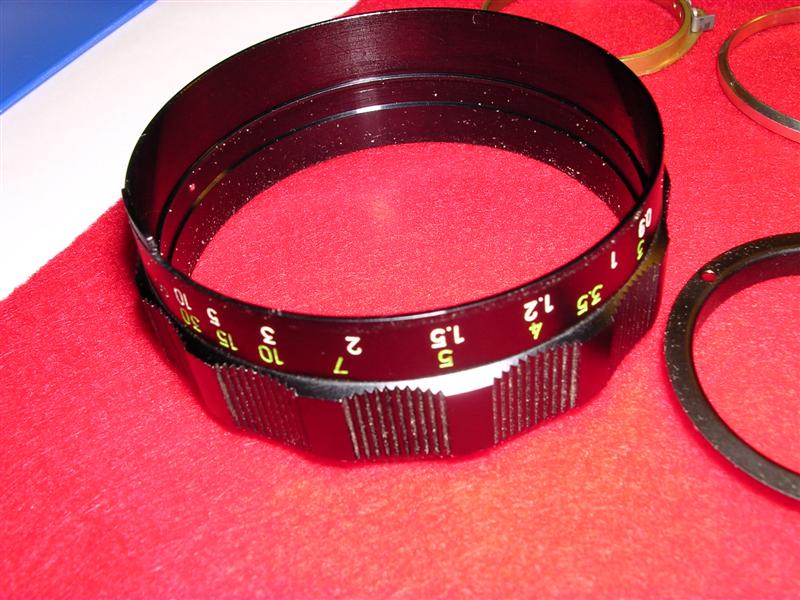
15) Focus ring. It is difficult to calibrate without marks in the barrels. |
|
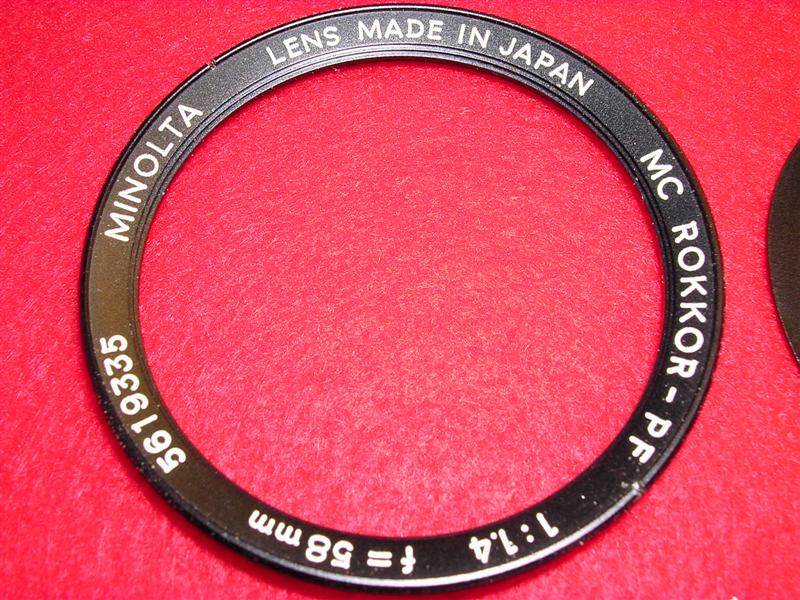
16) Lens number ring. This one is metal and difficult to take appart. Be careful not to scratch the surface. | |
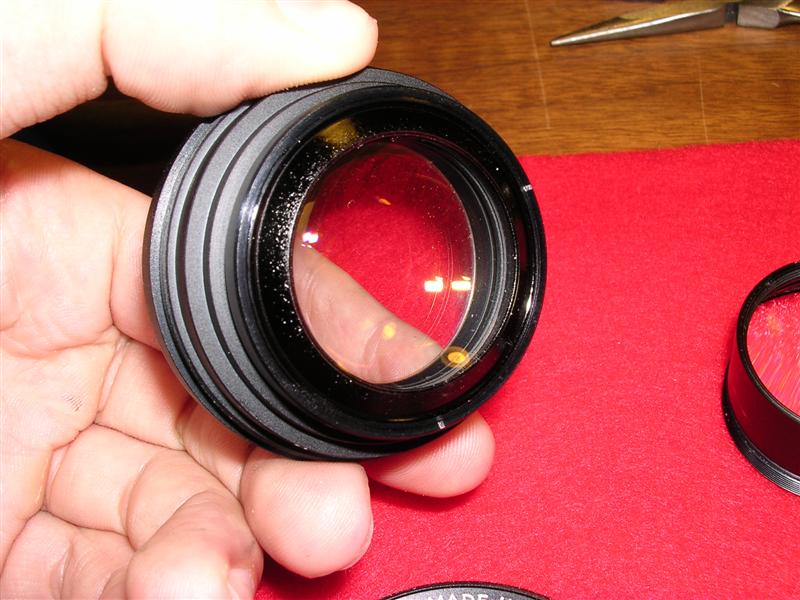
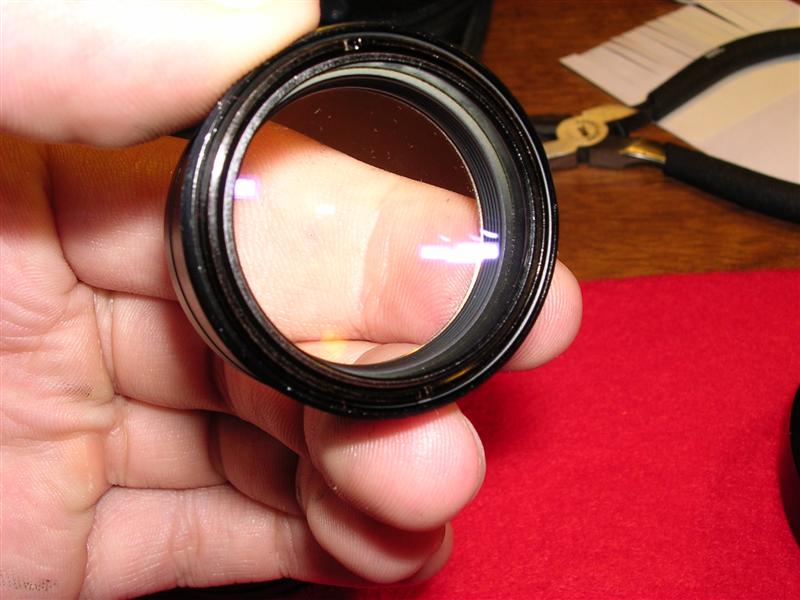
17) Front lens group. There is no need of further disassembly unless there is fungus inside. |
|
18) Rear element group. No need of further disassembly. Don't store them on hard surfaces. I use soft felt to handle all optics. | |
19) Try not to touch the glass with your hands, during disassembly and assembly. |
|
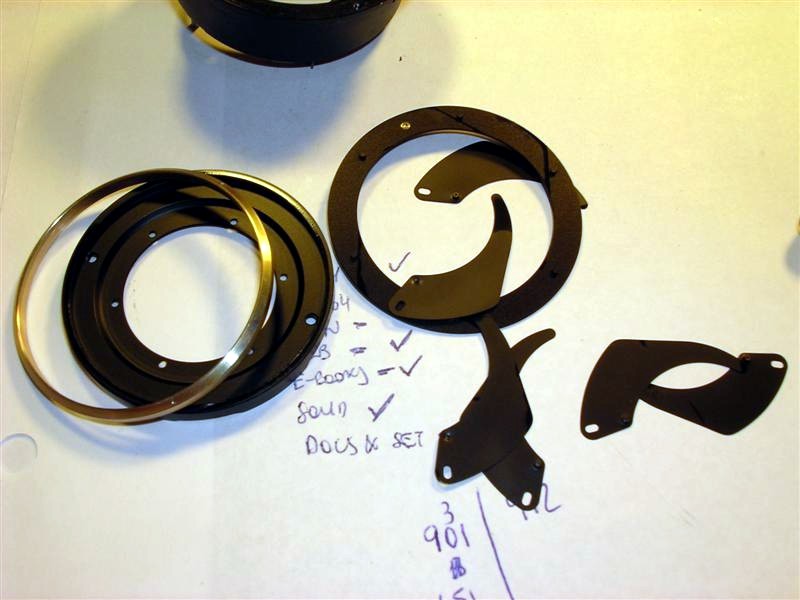
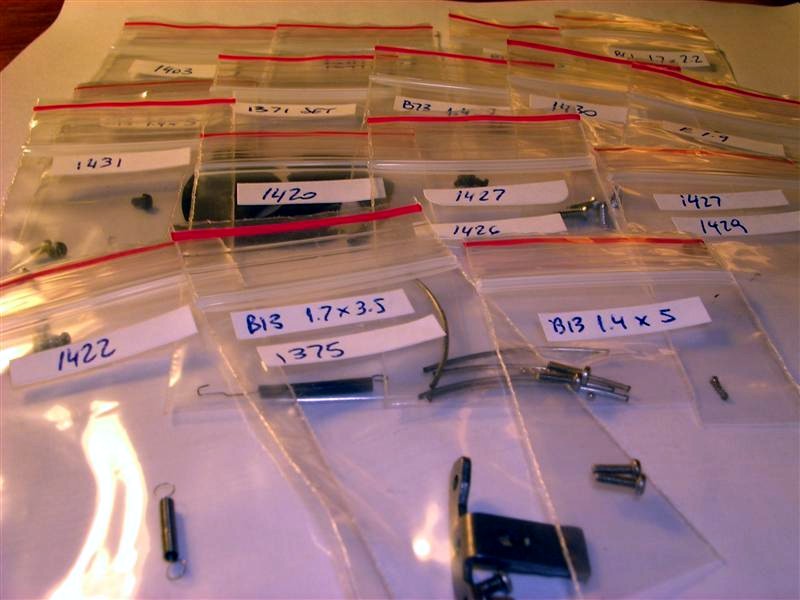
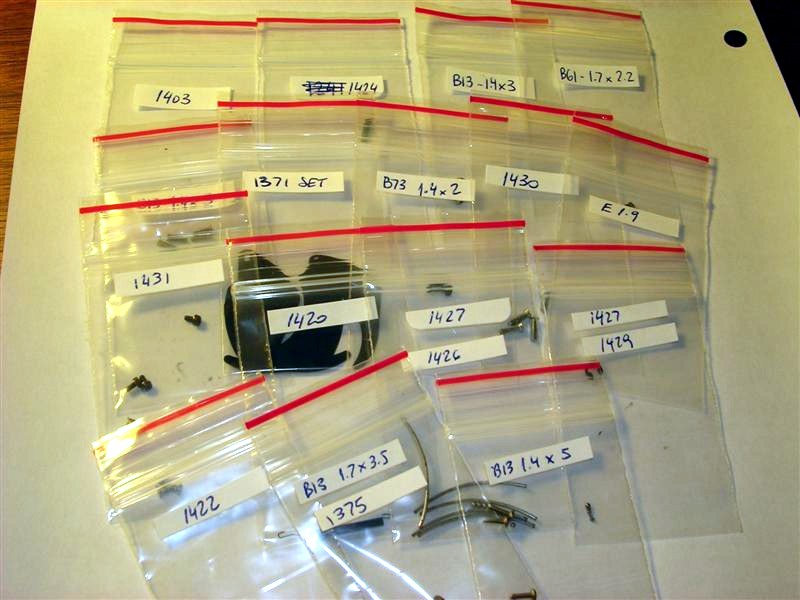
20) Keep all small items separated and labeled. | |
21) Be careful with the aperture blades. Any damage will render the lens useless. |
|
22) Cleaning the metal rings with warm water and mild soap. I use camp fuel only to dissolve grease and oil from metal parts. | |
23) I used Kleenex and Windex to clean the optics (Tomosy). See footnote 1. |
|
24) Mounting the lens. I used graphite powder to lubricate big rotating surfaces. | |
25) I also used graphite to lubricate the cam and lever. Vacuum the remains of graphite (you don't want it to end up in the lens) |
|
26) Move the rotating ring and observe the operation on the cam lever. This will be important for calibration. | |
27) Clean aperture blades. I used camp fuel to clean them |
|
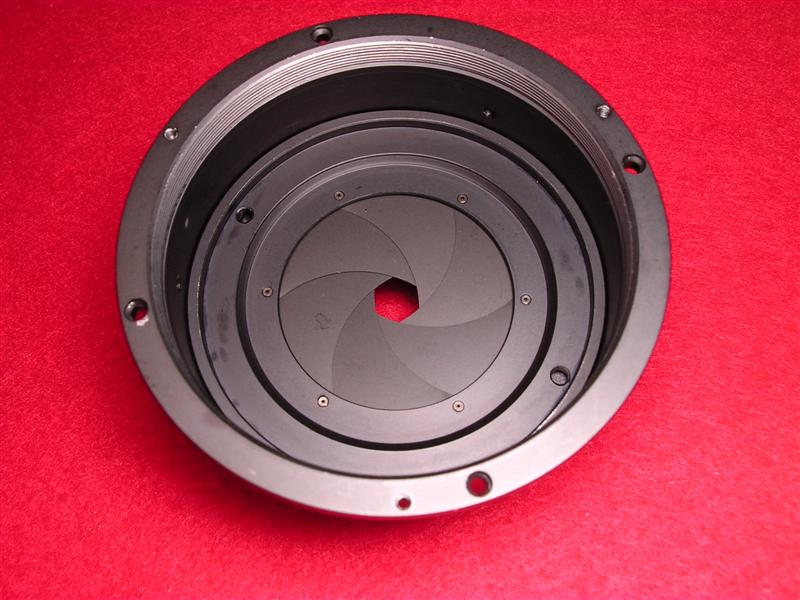
28) Assembly of the aperture block. | |
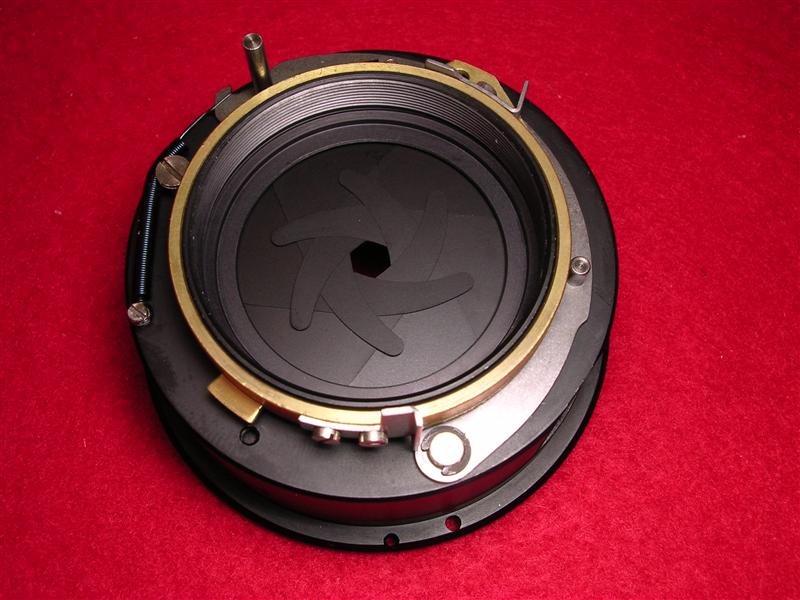
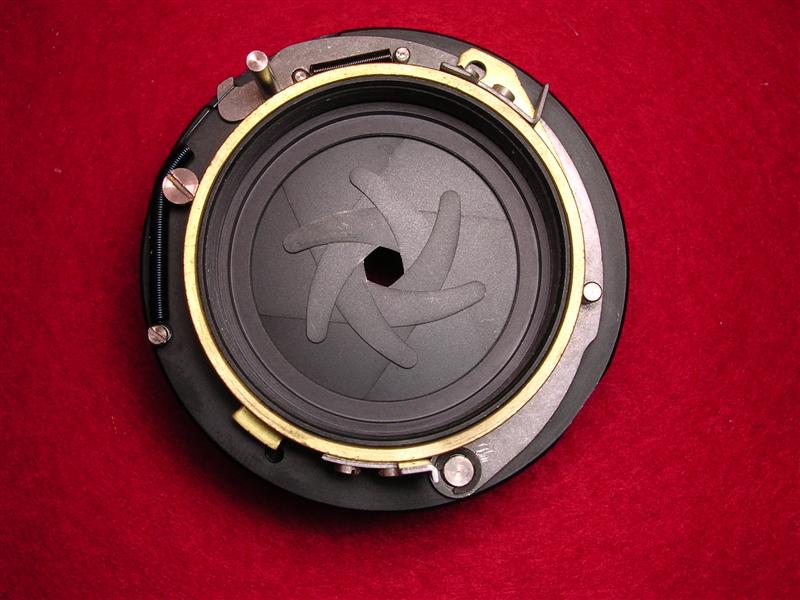
29) Aperture block assembled. Check the operation. Should be smooth. See footnote 2. |
|
30) Aperture block mounted on the inner barrel. Mount the support ring before turning upside down. | |
31) Final assembly. Check smoothness of operation. |
|
32) Calibrate the minimum aperture before further assembly (see how to calibrate aperture). | |
33) Mounting the clean back element group. |
| ... to be continued ... | |||
Footnotes: |